- DIRECT CONTACTS:
- +256394517569
- tours@safarioclock.africa
Camera Settings to Practise Before Your Rwanda Gorilla Trek

How to Photograph Mountain Gorillas Without Using Flash
November 11, 2026
Choosing a Lens for Gorilla Tracking in Dense Forest
November 11, 2026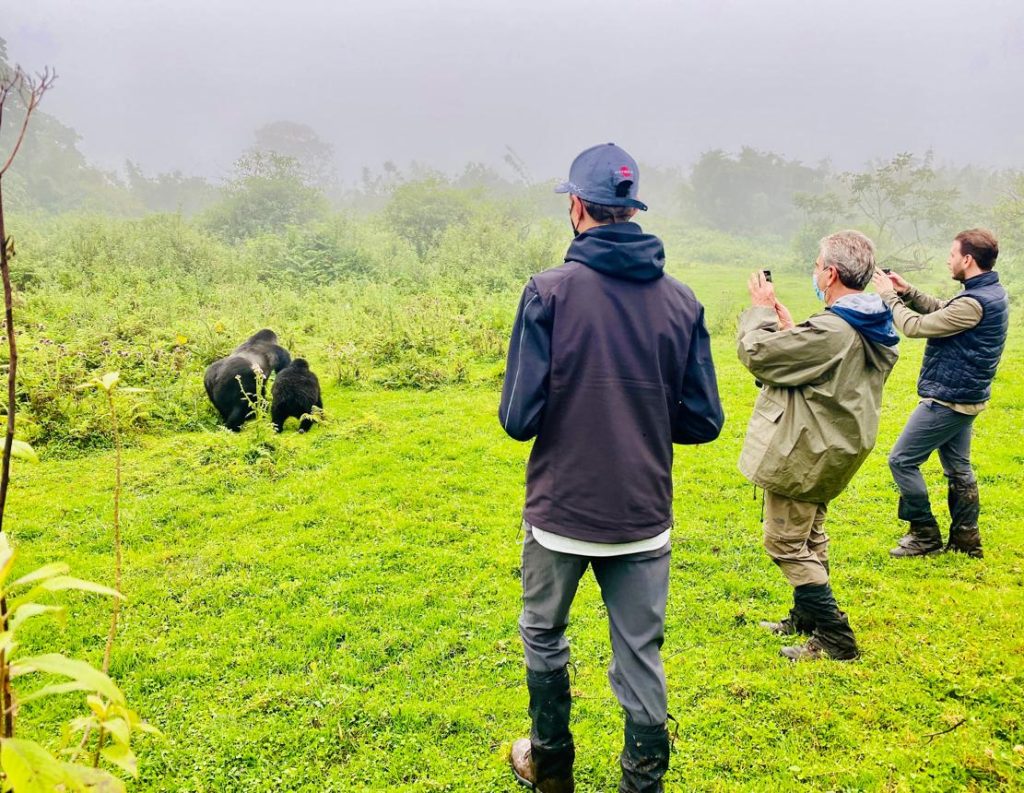
Preparing for a Rwanda gorilla trek involves more than packing hiking boots and travel documents. If you plan to photograph mountain gorillas, your camera also needs attention before departure. Learning how to use your equipment can make a big difference when you finally enter the forest.
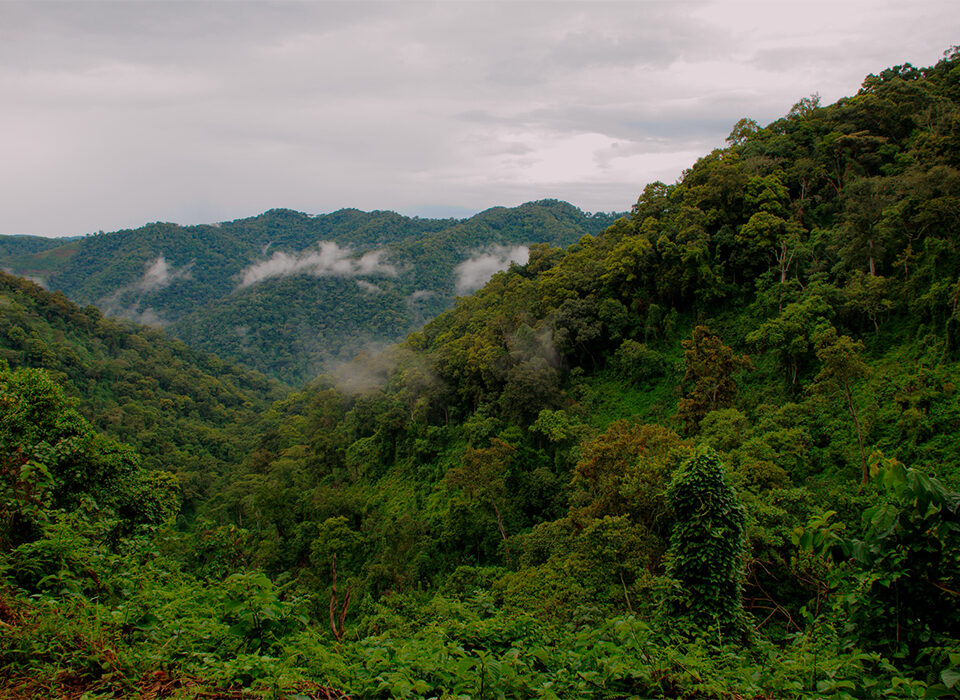
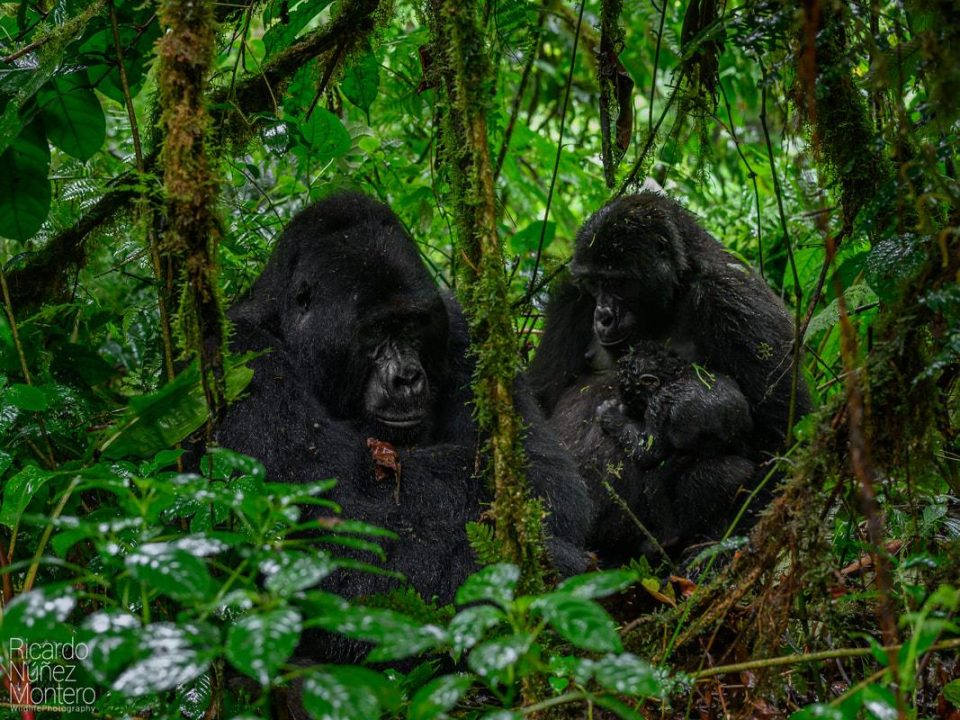
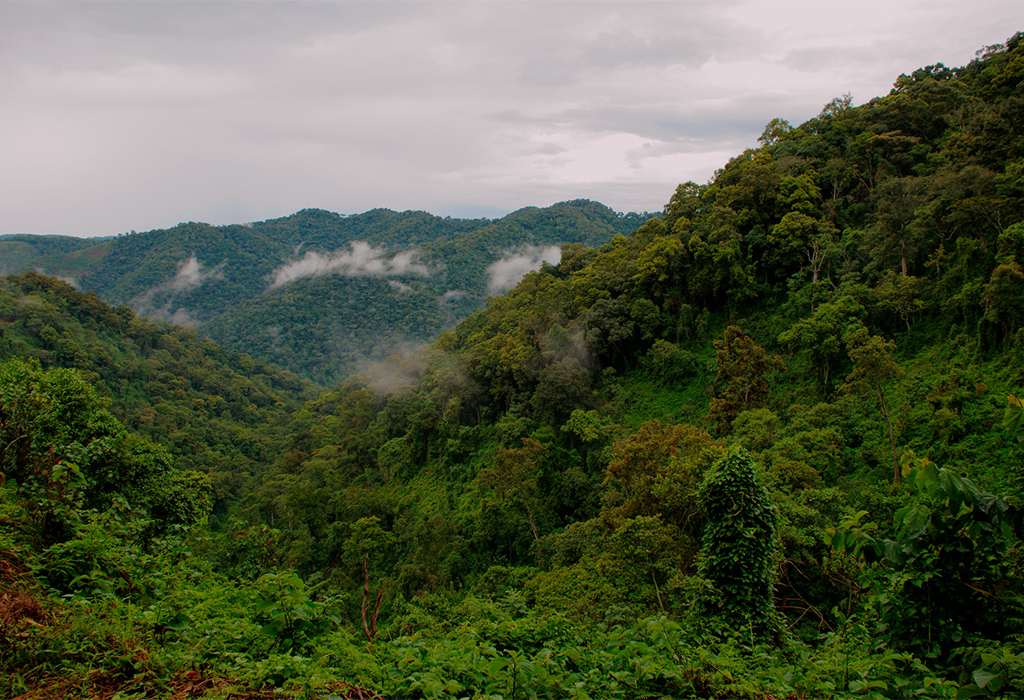
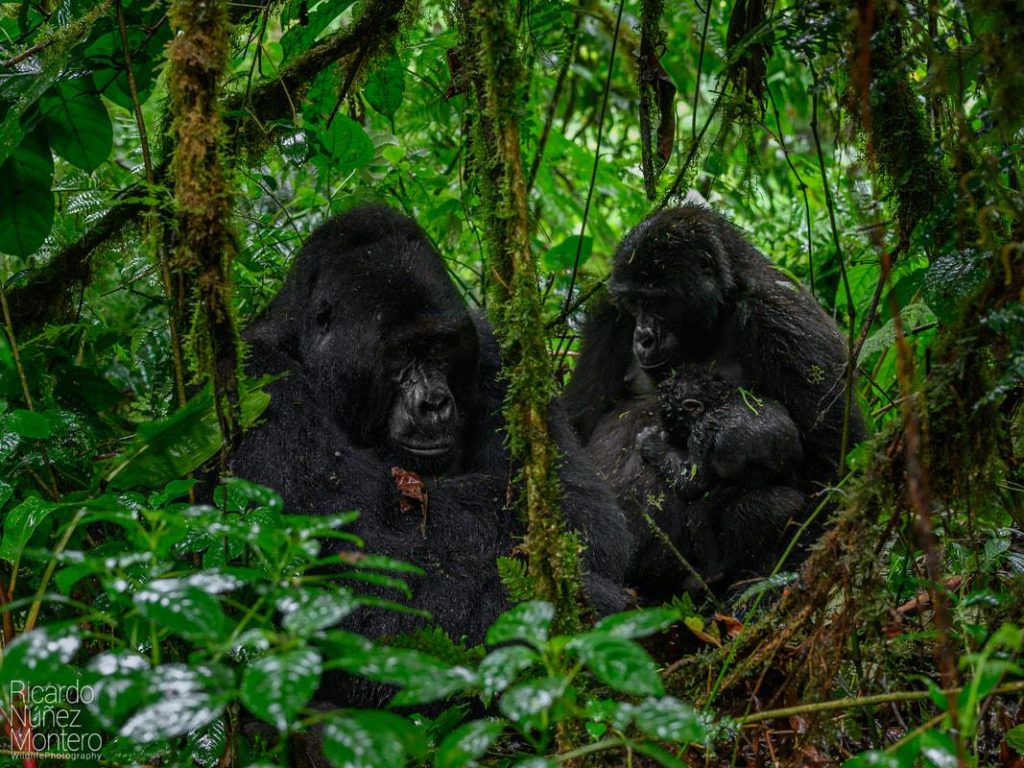
Mountain gorillas live in thick vegetation across the Virunga Mountains. The forest can be dark, even during daylight hours. In addition, gorillas move naturally as they feed, rest and interact with their families. These conditions make wildlife photography challenging, especially for visitors who are unfamiliar with their cameras.
However, you do not need to be a professional photographer to capture memorable images. You simply need to understand a few important settings and practise using them before your journey.
At Safari O’clock, we encourage travellers to prepare for the photography conditions they may encounter during gorilla tracking. A little practice at home can help you take clearer pictures, respond quickly to changing light and enjoy the encounter without struggling with your camera.
Why Camera Settings Matter Before Your Rwanda Gorilla Trek
A gorilla encounter is not a controlled photography session. You cannot choose the lighting, ask a gorilla to remain still or repeat a moment because your camera missed it. Instead, you must work with the natural conditions of the forest.
One moment, a gorilla may sit quietly among the vegetation. A few seconds later, it may stand, walk or interact with another member of its family. Your camera needs to respond to these changes.
Light also creates a challenge. Thick forest vegetation can block sunlight and produce dark areas. As a result, your camera may struggle to capture sharp photographs if you rely entirely on automatic settings.
Understanding your camera gives you more control over exposure, focus and movement. It also reduces the time you spend adjusting buttons during the encounter.
Another important consideration is responsible photography. Rwanda’s official gorilla tracking guidance permits photography but prohibits flash. Visitors must also maintain the required distance and follow their guides’ instructions.
Therefore, practise using natural light before your trip. This will help you avoid relying on artificial flash when the forest becomes dark.
Understand the Three Main Camera Settings
Before exploring advanced features, learn how three basic settings work together. These are ISO, shutter speed and aperture. They control exposure, which determines how bright or dark your photograph appears.
Understanding their relationship is one of the most useful photography skills you can develop before your Rwanda gorilla trek.
Practise ISO Settings for Low-Light Photography
ISO controls how strongly your camera sensor responds to light. A higher ISO helps you capture images in darker environments. This makes it useful when photographing gorillas beneath thick forest vegetation.
For example, ISO 100 or 200 may work well outdoors in bright sunlight. However, these settings may produce dark photographs in shaded forest areas.
You may need ISO 800, 1600 or even higher when light becomes limited. The exact value depends on your camera, lens and available light.
However, increasing ISO also has a disadvantage. Very high settings can introduce digital noise, which appears as grain in your photographs. This can reduce fine details, especially in darker areas.
The best approach is to learn how your camera handles different ISO levels. Take photographs at ISO 400, 800, 1600 and 3200. Then compare the results on your computer.
This exercise will help you identify the highest ISO setting you can comfortably use without losing too much image quality.
Practise Shutter Speed for Moving Gorillas
Shutter speed controls how long your camera sensor receives light. It also determines how clearly your camera records movement.
A slow shutter speed allows more light into the camera. However, it can create motion blur when the subject moves or when your hands shake.
A faster shutter speed freezes movement more effectively. This is important when photographing gorillas that walk, feed or interact with their young.
As a starting point, practise these settings:
- 1/60 second: Suitable for some stationary subjects when you can hold the camera steadily.
- 1/125 second: A useful starting point for relatively still subjects.
- 1/250 second: Can help capture gentle movement.
- 1/500 second: Useful for more active subjects.
- 1/1000 second: Can freeze faster movement when enough light is available.
These values are starting points, not fixed rules. You may need a faster shutter speed when a gorilla moves quickly. However, darker forest conditions may require you to balance shutter speed with ISO and aperture.
Practise photographing a walking person, a moving pet or a bird. Compare the results at different shutter speeds. This will help you understand how movement affects image sharpness.
Practise Aperture for Forest Photography
Aperture controls the size of the opening inside your camera lens. This opening determines how much light reaches the sensor.
A wider aperture allows more light into the camera. It also creates a shallower depth of field, which can make the background appear softer.
Aperture is measured in f-numbers. A smaller number represents a wider opening.
For example, f/2.8 allows more light through the lens than f/5.6. This makes wider apertures useful when photographing in dark forest conditions.
However, a very wide aperture can make it difficult to keep several subjects in focus. If you photograph a gorilla family, some animals may appear sharp while others look blurred.
Practise using different aperture values with objects at different distances. Take one photograph at f/2.8 and another at f/5.6. Compare how much of the scene remains sharp.
This exercise will help you choose an appropriate aperture when photographing individual gorillas or wider family scenes.
Choose the Right Camera Mode Before Your Gorilla Trek
Most cameras offer several shooting modes. Understanding these modes helps you react quickly when lighting or movement changes.
You do not have to master every mode before your trip. Instead, concentrate on the options that give you practical control over exposure.
Practise Aperture Priority Mode
Aperture Priority mode appears as A or Av on many cameras. It allows you to choose the aperture while the camera selects a suitable shutter speed.
This mode can be useful when you want to control how much of the scene remains in focus.
For example, you can select a wide aperture when photographing one gorilla. The camera will then adjust shutter speed according to the available light.
However, watch the shutter speed carefully. If the camera selects a speed that is too slow, moving gorillas may appear blurred.
Many cameras also allow you to combine Aperture Priority with Auto ISO. This gives the camera more flexibility when light changes.
Practise Shutter Priority Mode
Shutter Priority mode usually appears as S or Tv. It allows you to select the shutter speed while the camera adjusts the aperture.
This mode can help when photographing moving subjects. You can choose a faster shutter speed to reduce motion blur.
For example, practise using 1/500 second when photographing a moving person. Then observe how the camera changes the aperture to maintain exposure.
If the lens cannot open wide enough, the photograph may become too dark. In that case, increase ISO or choose a slower shutter speed if the movement allows it.
Practise Manual Mode with Auto ISO
Manual mode gives you direct control over shutter speed and aperture. When you combine it with Auto ISO, the camera adjusts ISO to help maintain the correct exposure.
This can be useful for photographers who already understand exposure.
For example, you could choose 1/500 second and f/4, then allow Auto ISO to respond to changing light.
However, check your camera’s exposure limits. If the forest becomes very dark, the camera may reach its maximum ISO and still produce an underexposed photograph.
Beginners do not need to force themselves to use Manual mode. Aperture Priority or Shutter Priority can also produce excellent results when used correctly.
Practise Autofocus Settings for Gorilla Photography
Getting the exposure right is only part of the process. Your camera must also focus on the correct subject.
Mountain gorillas may move behind leaves, branches and other vegetation. In such conditions, your camera can sometimes focus on the background instead of the animal.
Learning how autofocus works can help you avoid this problem.
Learn Continuous Autofocus
Continuous autofocus is often labelled AF-C or AI Servo, depending on the camera brand. This mode allows the camera to adjust focus as the subject moves.
It can be useful when photographing a gorilla that walks or changes position.
Practise by photographing a person walking towards you. Keep the focus area on the person and observe how the camera maintains focus.
Compare the results with Single Autofocus, which is often labelled AF-S or One-Shot. You will notice that continuous autofocus is better suited to subjects that keep moving.
Practise Animal Eye Detection
Some modern cameras include animal eye detection. This feature helps the camera identify an animal’s eye and focus on it.
If your camera supports this feature, learn how to activate it before travelling.
Practise with pets or suitable wildlife subjects. Check whether the camera recognises the eye and maintains focus as the animal changes position.
However, do not assume that every camera has this feature. Some older models offer standard face detection or tracking autofocus instead.
You should also learn how to switch to a single focus point or a smaller focus area. This can help when leaves or branches confuse automatic subject detection.
Learn How to Work with Natural Light
Since flash photography is prohibited during gorilla tracking, natural light becomes very important.
The forest around Volcanoes National Park can have changing light conditions. Some areas receive sunlight through gaps in the trees, while others remain deeply shaded.
Practise taking photographs in different lighting conditions before your trip. Start in a bright outdoor area, then move into a shaded garden or a room with limited natural light.
Notice how your camera responds to these changes. You may need to increase ISO, open the aperture or adjust shutter speed.
Also, learn how to use exposure compensation. This feature usually appears as a plus or minus symbol. It allows you to make a photograph brighter or darker without changing all your settings manually.
For example, if your camera produces a photograph that looks too dark, you can try a small positive exposure adjustment. Review the result and make further changes if necessary.
However, avoid increasing brightness without checking the details. Very bright areas can lose information when they become overexposed.
The goal is to capture a clear photograph while preserving as much detail as possible.
Practise Camera Settings for Different Gorilla Photography Situations
Different subjects require different photography approaches. A gorilla sitting quietly may need different settings from a young gorilla playing or a family moving through vegetation.
Practising these situations at home can help you prepare for the variety of moments you may encounter.
Photographing a Resting Gorilla
A resting gorilla may remain still for several moments. This gives you more time to compose your photograph and adjust exposure.
You can start with a moderate shutter speed, provided you can hold the camera steadily. Use an aperture that allows enough light while keeping the important parts of the subject in focus.
Check the eyes carefully. A photograph of a resting gorilla often looks more engaging when the face is sharp.
Photographing a Moving Gorilla
Moving subjects require more attention to shutter speed and autofocus.
Try a faster shutter speed and continuous autofocus. If your camera supports animal tracking, practise using it before departure.
You may also use continuous shooting mode, which takes several photographs while you hold the shutter button.
However, avoid taking unnecessary bursts throughout the encounter. Be considerate of other visitors and follow your guide’s instructions.
Photographing a Gorilla Family
A family photograph may include several gorillas at different distances. A very wide aperture may leave some animals out of focus.
Consider using a slightly narrower aperture when the light allows it. This can increase the depth of field and help more of the scene remain sharp.
You may also need to adjust your position within the group, but only when your guide permits it. Never move closer or disturb vegetation to improve your composition.
Learn to Use Image Stabilisation
Camera movement can create blurred photographs, especially when you use a longer lens.
Image stabilisation helps reduce the effect of small movements from your hands. Depending on the equipment, this feature may be built into the camera body or the lens.
Check whether your camera has this function and learn how to activate it.
Practise taking photographs while standing and holding your camera correctly. Keep your elbows close to your body and support the lens with your other hand.
If your camera has a viewfinder, bringing it close to your face can provide another point of support.
Image stabilisation does not freeze a moving gorilla. It mainly helps reduce blur caused by camera shake. You still need an appropriate shutter speed when photographing movement.
Practise Using Your Camera Without Flash
One of the most important preparations is learning to photograph in low light without flash.
Some cameras automatically suggest or activate flash when the environment becomes dark. This can create problems during a gorilla encounter because Rwanda’s tracking rules prohibit flash photography.
Before departure, locate the flash control in your camera menu. Switch the flash off and practise taking photographs indoors or in a shaded outdoor area.
If your camera has an automatic flash setting, make sure it cannot activate unexpectedly. Check the settings again before the trek.
Also, avoid using external video lights or other artificial illumination near the gorillas. Follow the instructions provided by park authorities and your guide.
Practising flash-free photography helps you become comfortable with higher ISO settings and natural light.
Practise Saving and Reviewing Your Photographs
Your camera’s file settings also deserve attention before the trip.
Most cameras offer JPEG and RAW formats. JPEG files are processed by the camera and are usually smaller. They are convenient for travellers who want photographs that are ready to share.
RAW files preserve more image information. This gives photographers greater flexibility when editing exposure, colour and other details later.
Some cameras allow you to save both formats at the same time. However, this uses more memory card space.
Choose the format that suits your experience and available storage. If you are new to photography, high-quality JPEG may be enough. If you understand photo editing, RAW can offer more flexibility.
You should also learn how to review your photographs. Check focus, exposure and image sharpness rather than looking only at the screen’s brightness.
Finally, format your memory card in the camera before the trip, once you have safely backed up any important files. Carry enough storage for the photographs you plan to take.
Protect Your Camera Before Entering the Forest
Volcanoes National Park has a mountainous forest environment. Rain, mist and humidity can affect camera equipment.
Prepare a rain cover or waterproof camera bag before departure. This will help protect your equipment when the weather changes.
Carry a soft lens-cleaning cloth to remove moisture and fingerprints. Keep spare batteries in a dry place and charge them fully before the trek.
It is also useful to check your camera strap and bag. You need equipment that feels secure and comfortable while walking through forest terrain.
Avoid carrying unnecessary accessories. A heavy camera bag can make the trek more tiring, especially when the trail becomes steep or muddy.
Safari O’clock encourages travellers to prepare practical equipment that supports the journey without creating unnecessary weight.
A Simple Camera Practice Routine Before Your Rwanda Gorilla Trek
You can improve your photography without spending hours studying technical manuals. A short practice routine can help you become more confident.
Start by photographing stationary objects in different lighting conditions. Practise changing ISO, aperture and shutter speed. Observe how each adjustment changes the final image.
Next, photograph moving subjects. Use continuous autofocus and experiment with different shutter speeds. Compare which settings produce the clearest results.
After that, practise photographing subjects in shaded areas. Turn off your flash and learn how to achieve suitable exposure using natural light.
Finally, practise changing settings without looking at your camera for too long. You should know where the important buttons are before entering the forest.
A useful routine could include:
- Day one: Practise ISO and understand digital noise.
- Day two: Experiment with shutter speed and moving subjects.
- Day three: Compare aperture settings and depth of field.
- Day four: Practise autofocus and animal eye detection.
- Day five: Photograph in low light without flash.
- Day six: Practise image stabilisation and continuous shooting.
- Day seven: Combine your skills in a short wildlife photography session.
You can repeat the routine until the controls feel familiar.
Final Camera Checklist Before Your Rwanda Gorilla Trek
Before travelling, take a few minutes to check your equipment. This simple step can prevent unnecessary problems during the trek.
Make sure your camera battery is fully charged and your memory card has enough space. Confirm that flash is switched off and that you understand how to adjust ISO, shutter speed and aperture.
Check your autofocus settings and test image stabilisation if your camera has it. Clean your lens and pack a suitable rain cover.
Most importantly, take a few test photographs in low light. Review them before departure so you can identify problems early.
At Safari O’clock, we encourage travellers to prepare their cameras while remembering that photography is only one part of the experience. The main purpose of gorilla tracking is to observe these remarkable animals in their natural habitat while respecting their welfare.
Enjoy Your Rwanda Gorilla Trek with Confidence
Practising camera settings before your Rwanda gorilla trek can make wildlife photography easier and more enjoyable. Understanding ISO, aperture, shutter speed and autofocus helps you respond to changing light and animal movement.
However, remember that no single camera setting works perfectly in every forest condition. Your results will depend on your camera, lens, available light and the behaviour of the gorillas.
Prepare your equipment, practise without flash and learn to adjust your settings confidently. During the encounter, maintain the required distance and follow your guide’s instructions.
Safari O’clock believes that responsible travel combines preparation, respect and appreciation for nature. When you understand your camera before entering the forest, you can spend less time adjusting buttons and more time enjoying one of Rwanda’s most remarkable wildlife experiences.